How To Install Boat Trailer Bunks
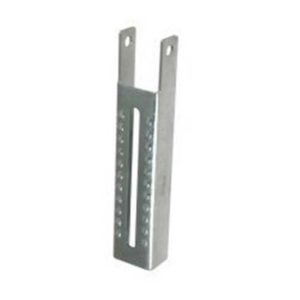
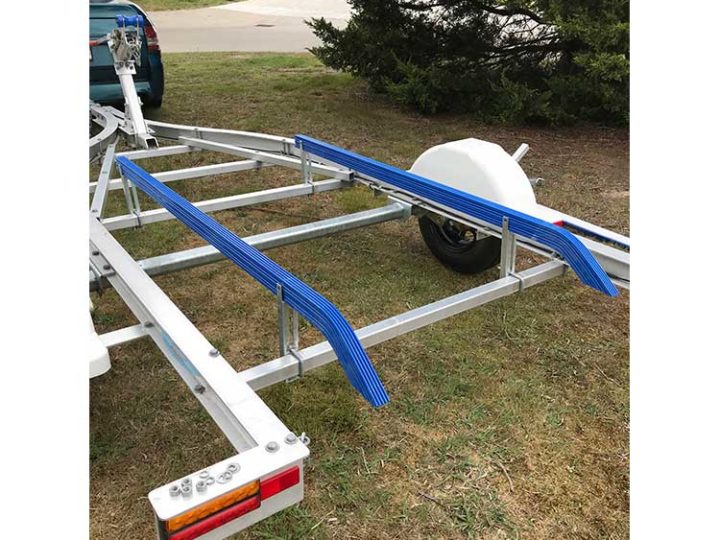
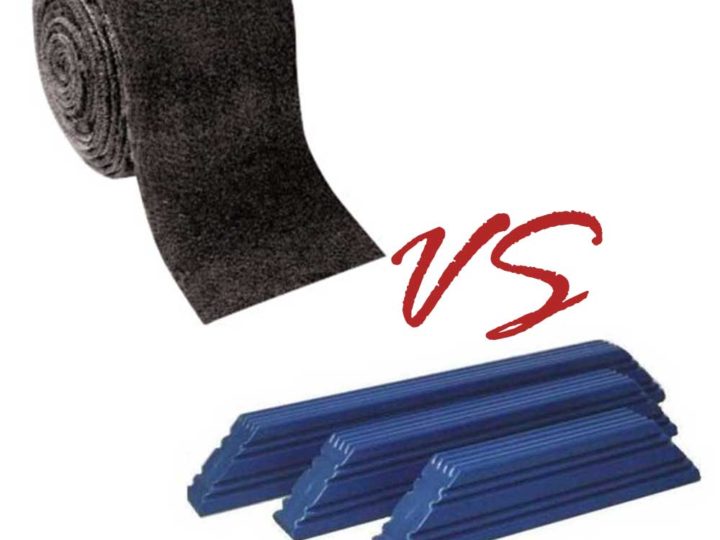
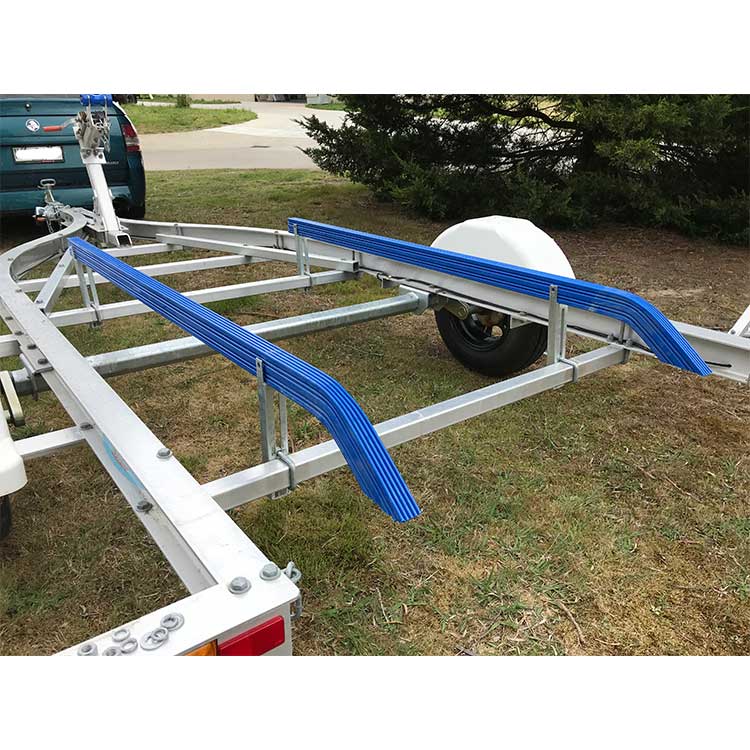
Over time with constant use your boat; your boat trailer bunks are going to suffer natural wear and tear and will eventually need replacing. In today’s tutorial we teach you how to exchange your old carpet boat trailer bunks and install brand new plastic boat trailer bunk guides onto your boat trailer. For the purpose of today’s article we will also assume you currently have installed adjustable boat trailer bunk brackets.
When it comes to replacing your boat trailer bunks in America and you own an aluminium boat, bass boat, jon boat, fishing boat; upgrading from carpet bunks to plastic boat trailer bunks will benefit you in the long run. If you have a fiberglass boat, the following process will work equally as well if you opt to stick with carpet bunk guides.
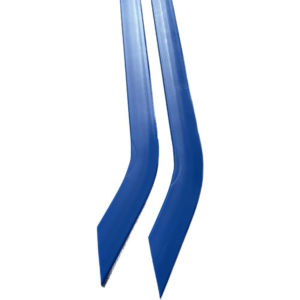
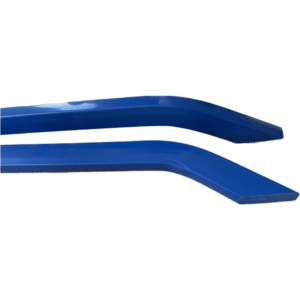
Plastic boat trailer bunks, unlike carpet have a much longer life span. They are slippery, wont crack or split and with correct care and maintenance, may never need replacing at all! No more carpet, no more struggling to launch and retrieve, more time out on the water.
Step 1 – Remove Existing Boat Trailer Bunks
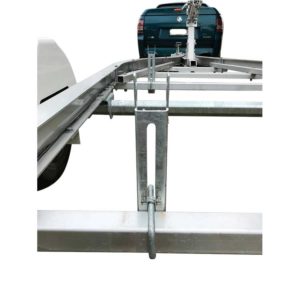 In order to replace your old carpet boat trailer bunks and replace with plastic bunk guides you will need to remove them from your boat trailer.
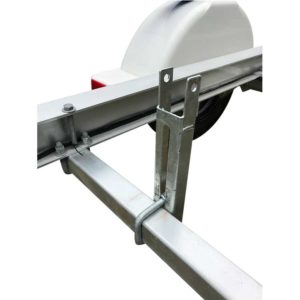
In most cases you can simply unscrew your bunks form your brackets to lift off. If possible; leave your brackets attached to your boat trailer. By leaving your existing bunk brackets in place, this will ensure that your boat remains in the same position at the correct height that was previously set with your old bunks.
The position of each bunk supporting your boats hull varies by design. If you are unsure that your bunks are sitting correctly, please contact us for support or contact your boats manufacturer for guidance.
Step 2 – Align Your Boat Trailer Bunks Into Your Bunk Brackets
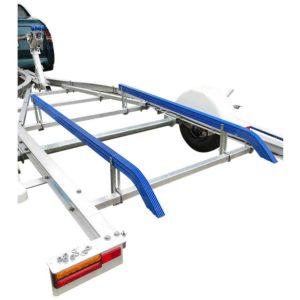 Once your existing boat trailer bunks have been removed from your brackets, its now time to place your new plastic boat bunk guides into the brackets.
Plastic boat trailer bunks are available in multiple size lengths.
- 4 Foot boat trailer bunks.
- 5 Foot boat trailer bunks.
- 6 Foot boat trailer bunks.
Once your boat trailer bunks are resting in your existing brackets; before you drill holes to secure the bunks to your brackets it is important to align the bunks on either side so they are sitting square with each other. This will not only allow for an easy launch and retrieval but also helps distribute the weight evenly of your boat on your trailer.
Step 3 – Drill & Secure Your Bunks To Your Brackets
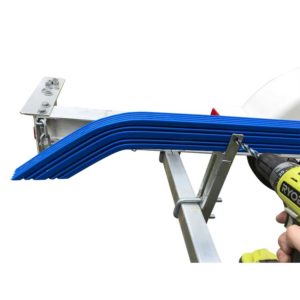 Once you have aligned your bunks on your trailer, grab a marker / sharpie and mark your bunks through your brackets. This will let us know where to drill our first set of holes in your bunks to secure them to your brackets.
Note: If you are confident using a drill you can leave the bunks in the brackets and drill straight through the plastic profile & brackets. Be sure not to move the bunks as this will put them out of alignment with the other bunk guide.
Start by drilling only 1 end of the bunks first. Once you have drilled one end, place your first screw through the bunk and bracket and tighten accordingly. This will help secure your bunk from moving as you make your way to the opposite end to complete your drilling.
Once your second hole has been drilled, place your nut and bolt through the bunk and tighten.
Repeat process for the opposite side of the trailer.
Step 4 – Enjoy Your New Boat Trailer Bunks
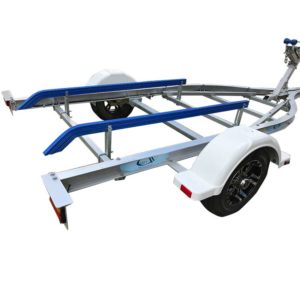 As you can see from the steps above. Replacing and installing new boat trailer bunks is a fairly straight forward process. Remember, when installing new boat trailer parts onto your boat trailer, always stick to high quality components. Not only will they last longer, but your overall boating experiance will be much more enjoyable.
If you have any questions about installing or replacing boat trailer bunks on your boat trailer, please leave us a comment below, or contact us for more information.
Comments (0)
Leave a reply
You must be logged in to post a comment.

